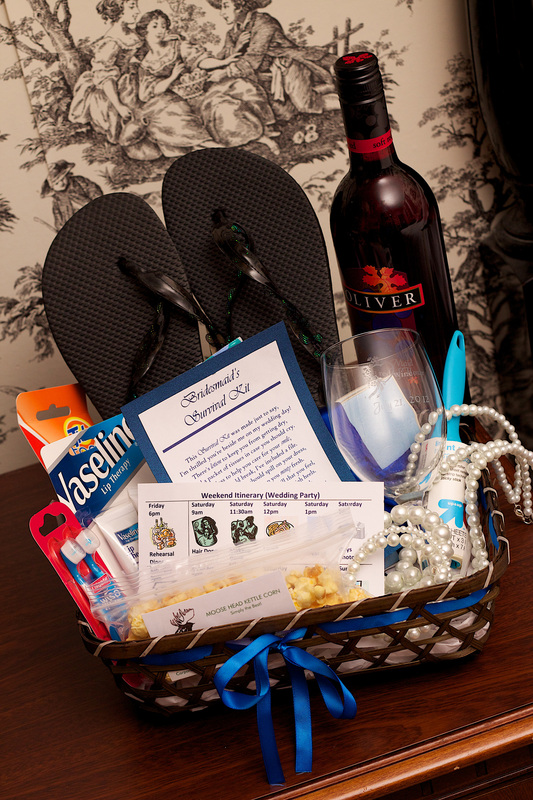
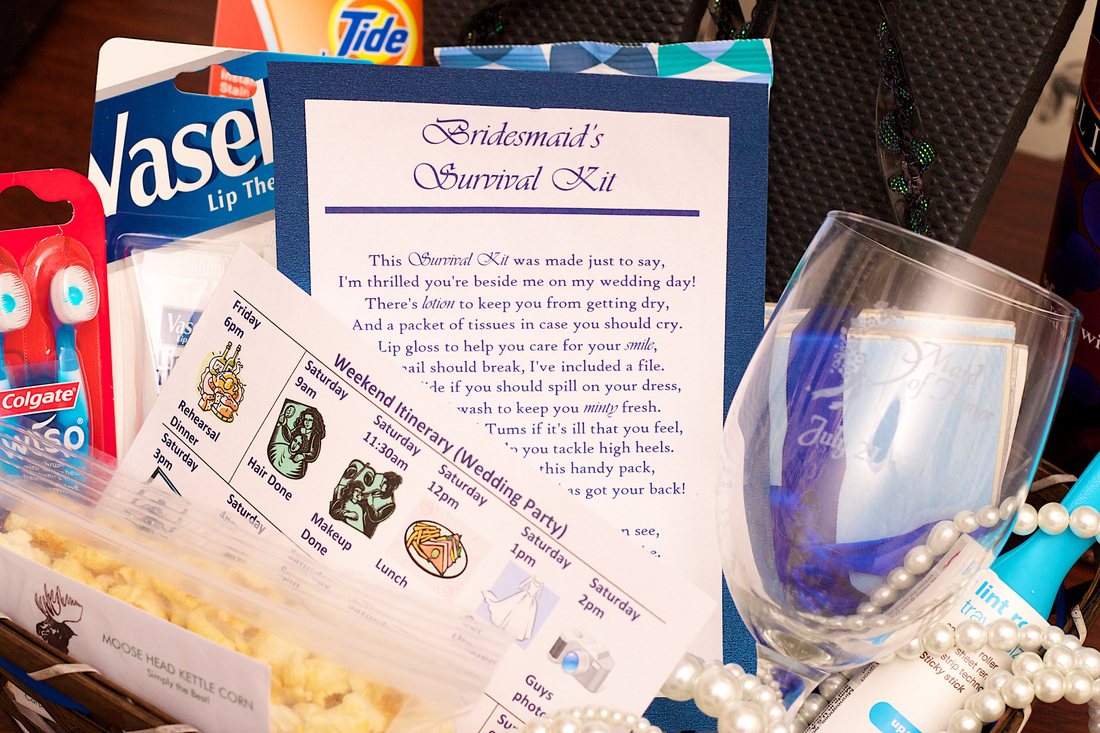
Gifts
One thing that perplexed me the most was what gifts to give the wedding party. Alot of the gifts I see listed on websites, like cufflinks, paperweights, and clocks, I imagine just end up taking up space in people's homes and rarely get used. Therefore, I really liked the idea of personalized glasses as gifts. I learned about etching glasses on The Knot DIY community board and then found the supplies while wandering in Michael's one day.
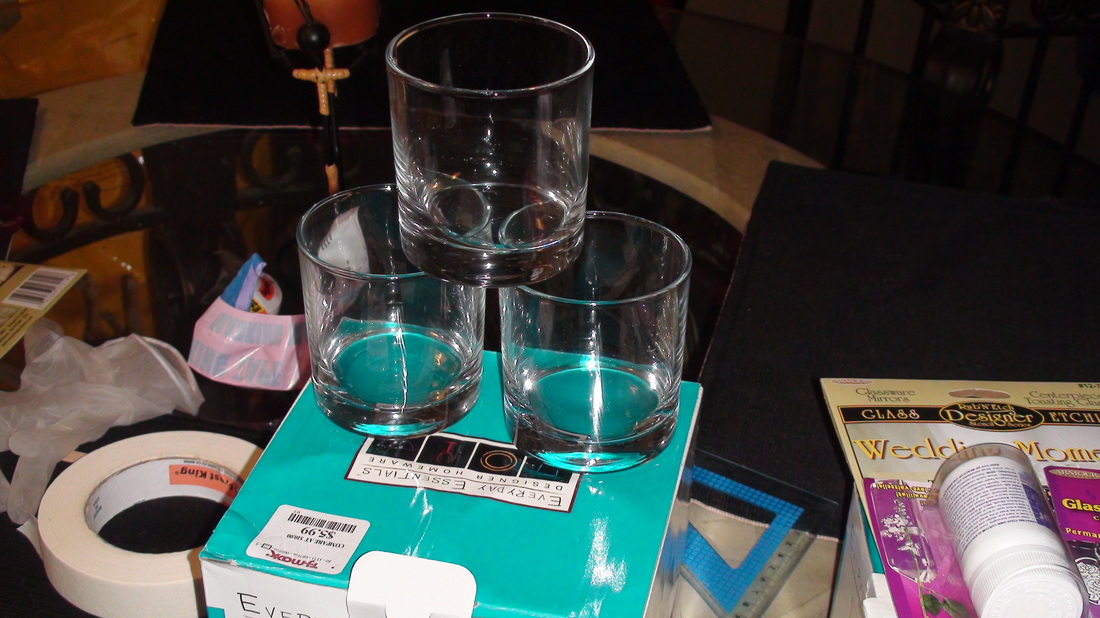
The glasses came from TJ Maxx (This is the BEST place to get good glassware for cheap)
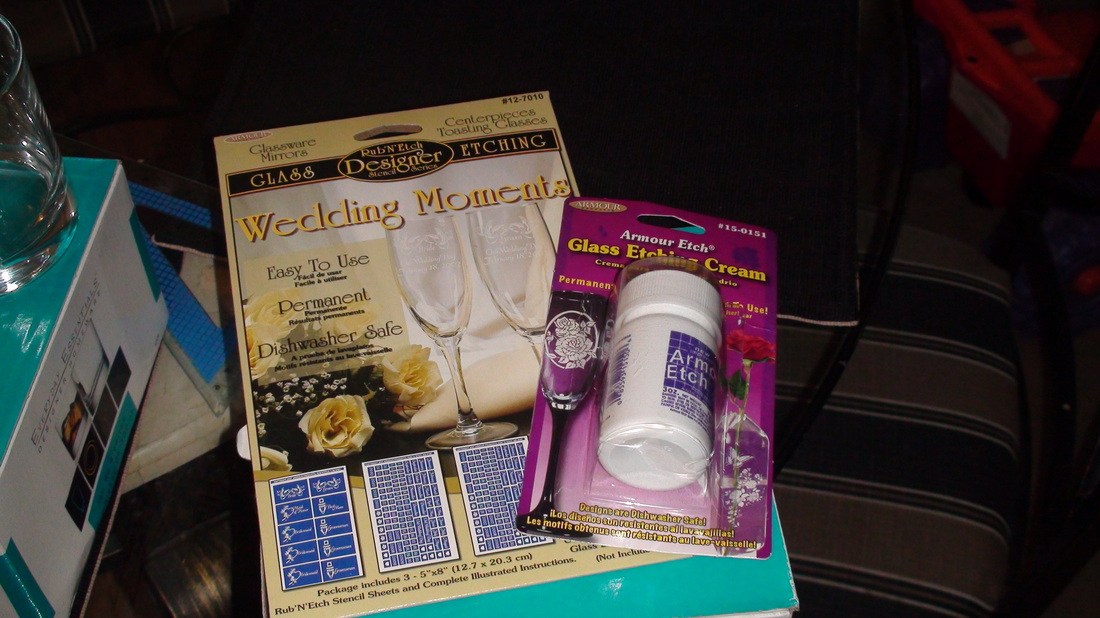
Here are the etch creme and stencils
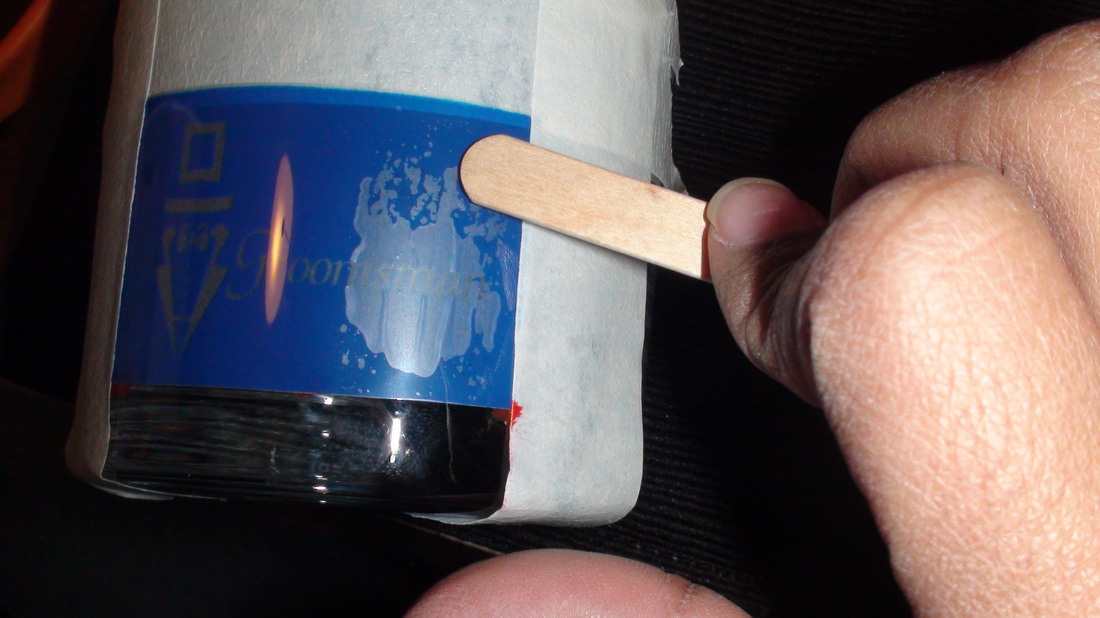
By rubbing the contact sheet on the back of the stencil, the stencil sticks to the glass. You can tell when the stencil has stuck to the glass because the plastic bubles up as shown on the left.
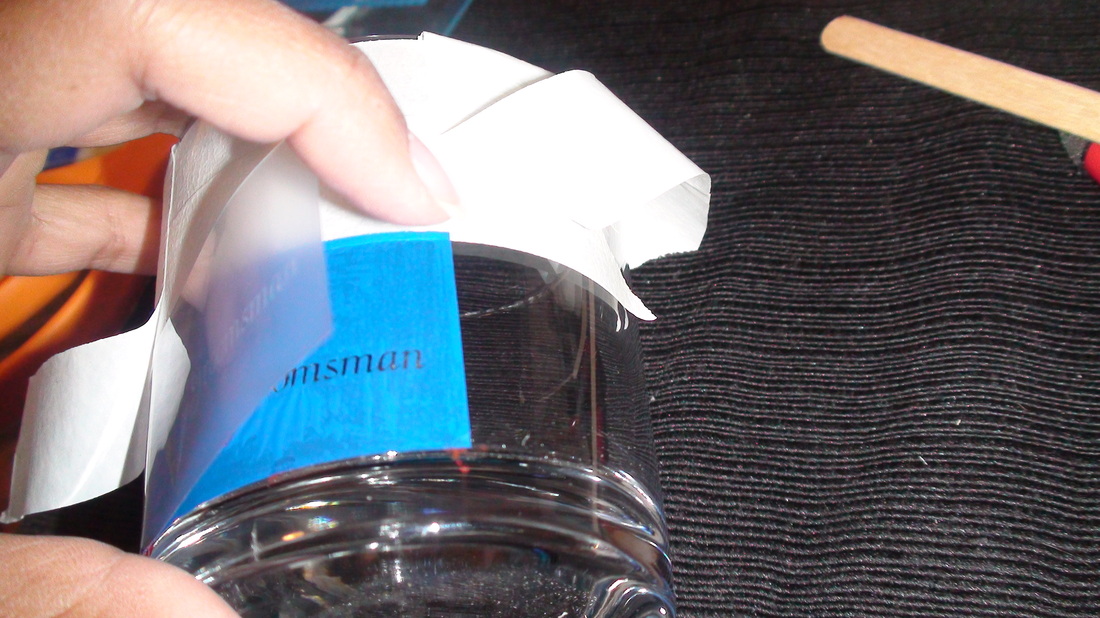
After it's clear that the plastic has come loose from the stencil, you can peel the plastic off.
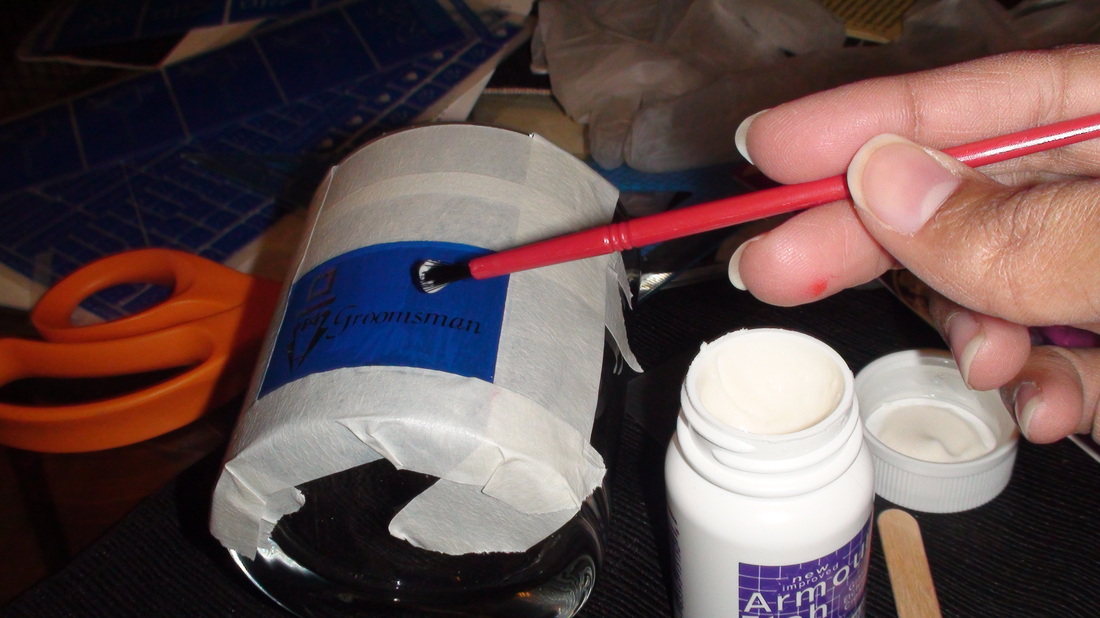
You have to tape all around the stencil so that the stencil is sure not to move and so that you don't get any etch cream where you want it, then you put on a thick layer of the cream.
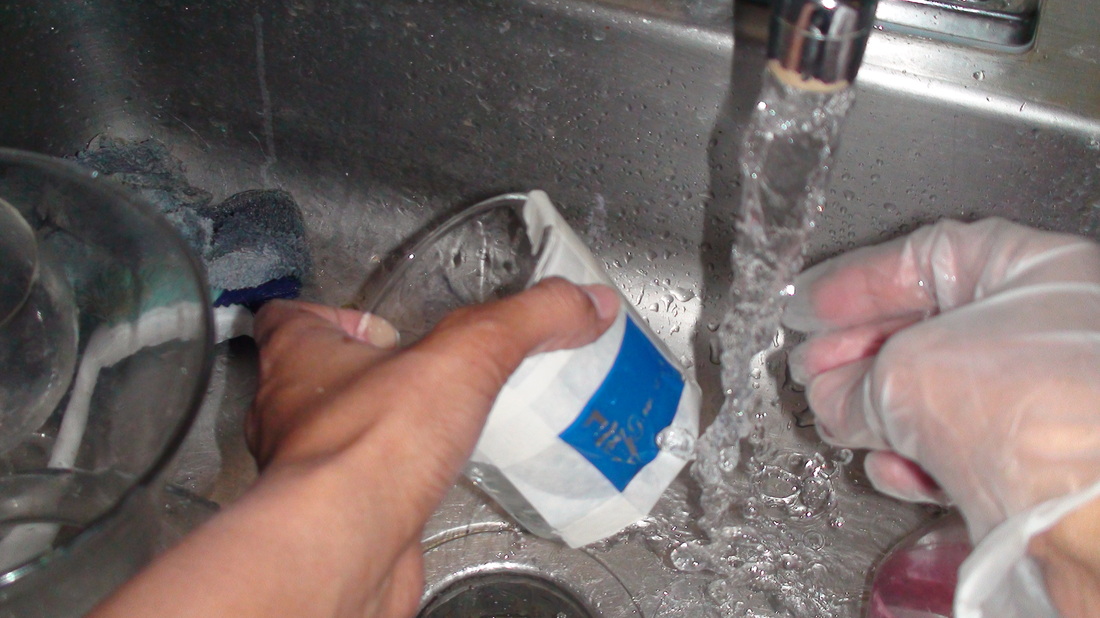
You have to rinse the etch creame off with warm water. The stencil itself and the masking tape will come off too.
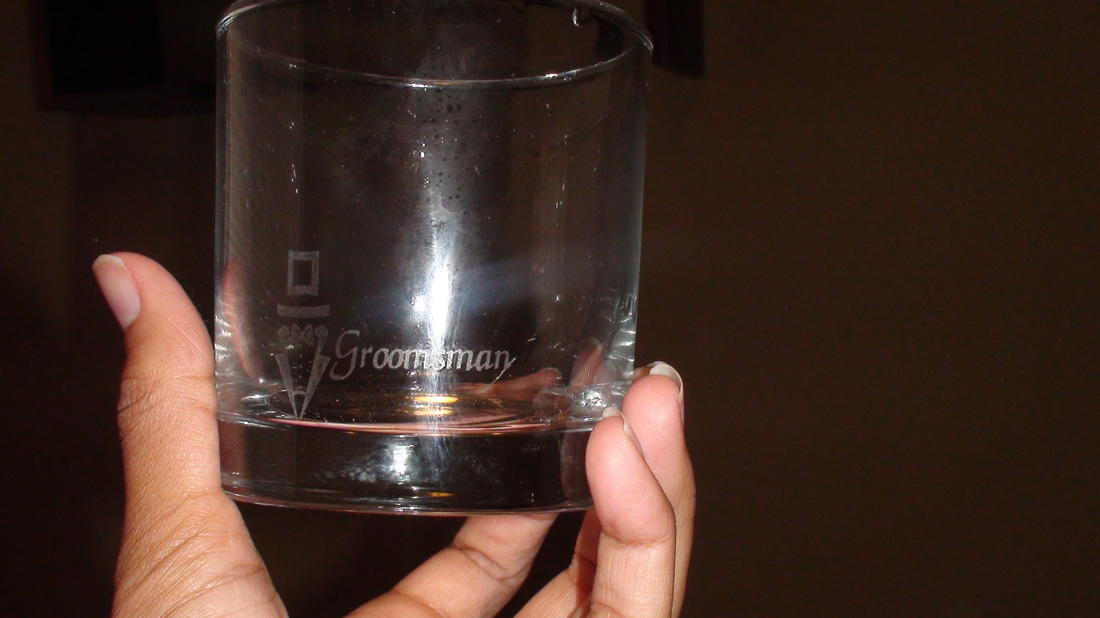
Here is the completed glass. We put the groomsmen's names about their title and the weddign date on the opposite side of the glass.
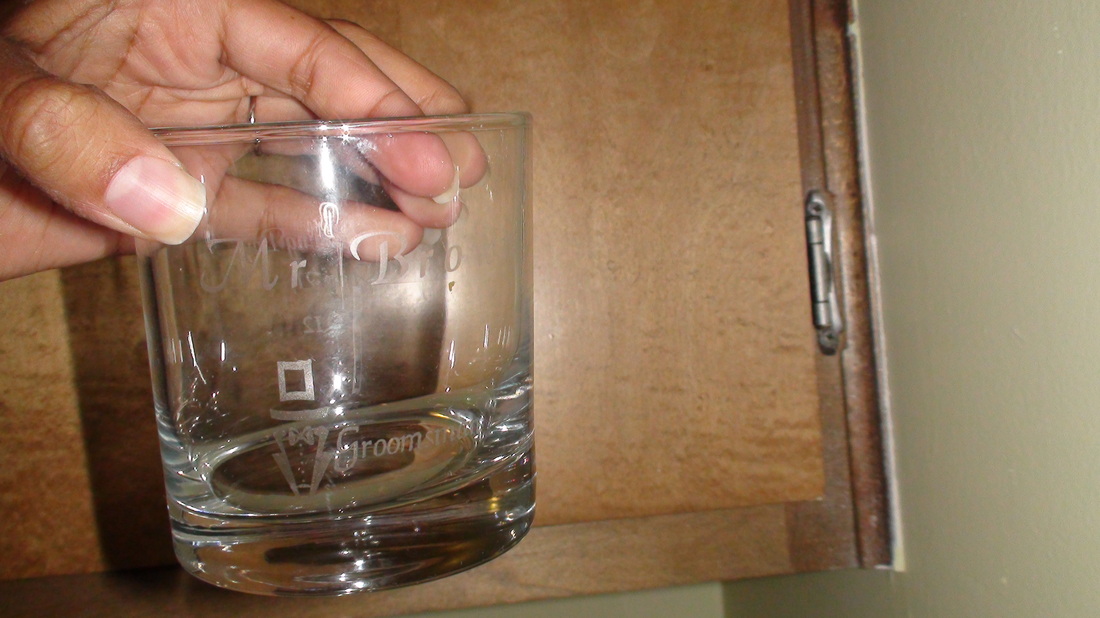
After adding the names, this is the finished product.
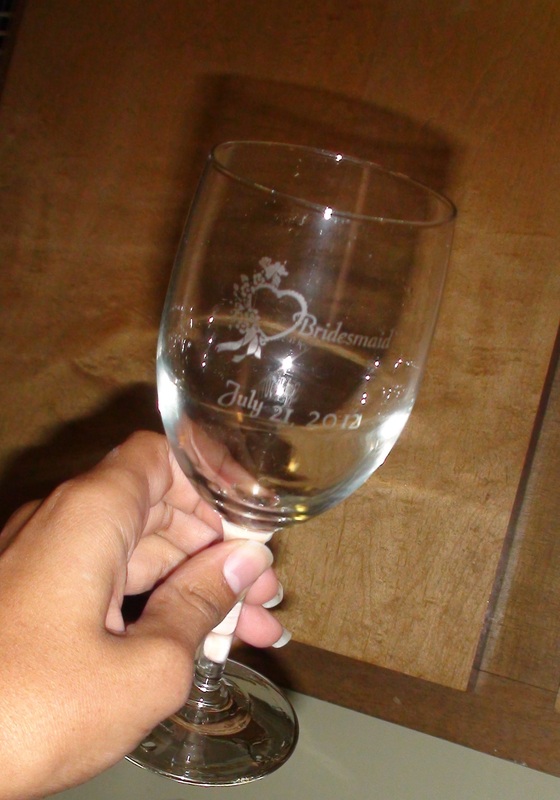
The bridesmaids glasses turned out good as well.
Coasters
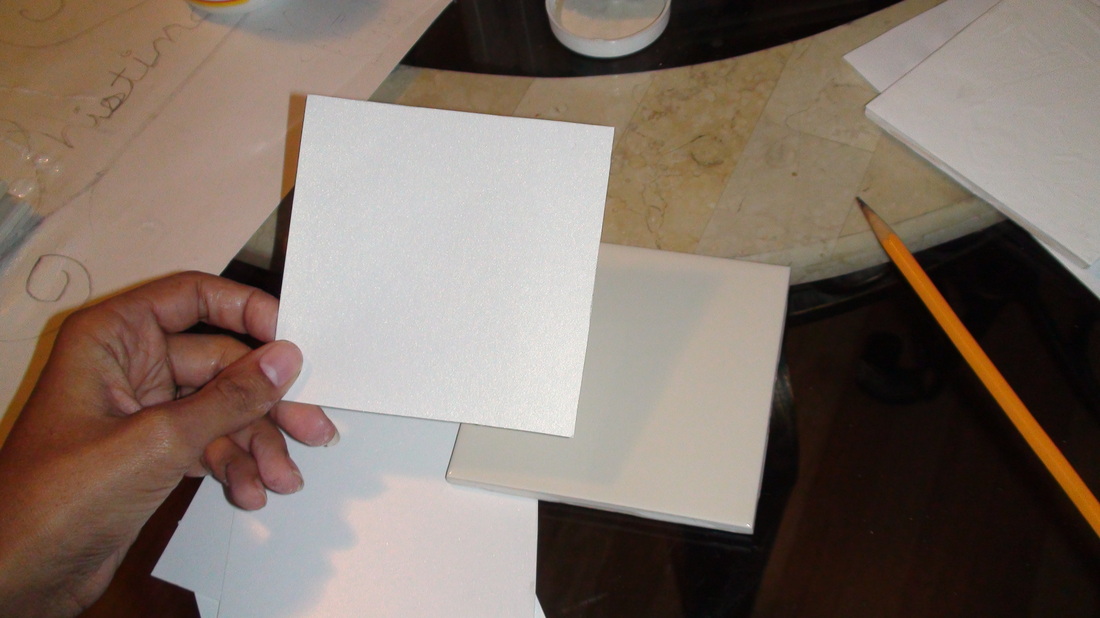
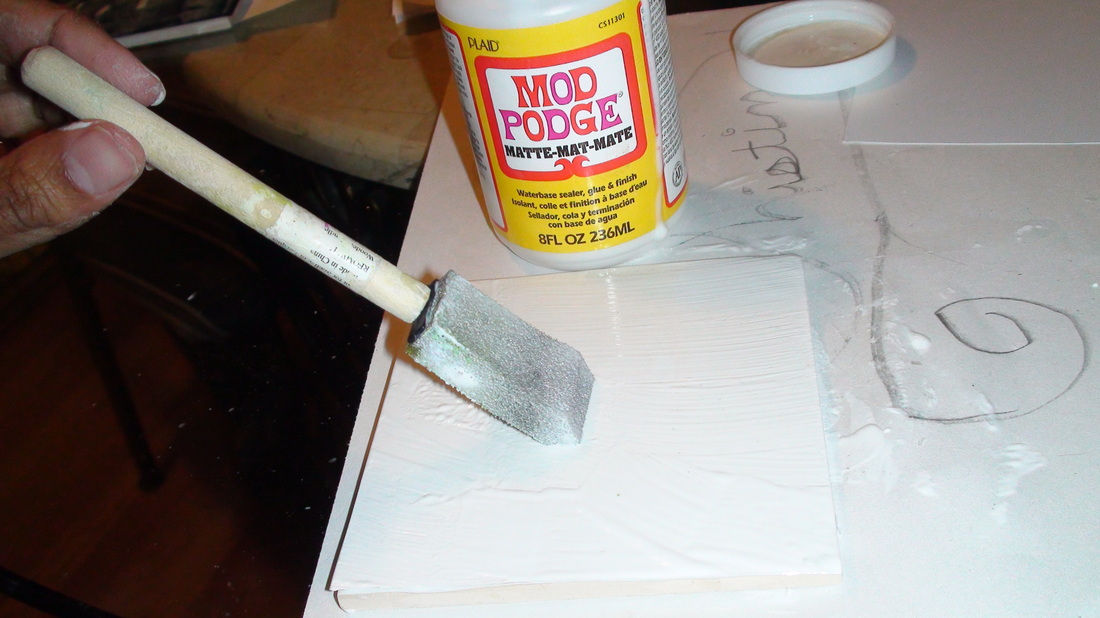
The other bridesmaid gift are custom coasters. I'm making them with the same paper used in the invitations and other wedding stationary. It's a pretty simple process. Mod Podge, 16 cent tile, paper, & acrylic spray sealant.
Mod podge the back of the paper, Mod Podge the tile, and stick the paper on. You then do a couple coats of Mod Podge on the top of the paper and wait for it to dry. The last step is to water proof the coasters with acrylic spray.
The coasters were 16 cents each, the Mod Podge is $6.99 ($3.50 with 50% off Michaels coupon), the spray acrylic is $7.48 ($4 with 50% off Michaels coupon), & the price of the paper varies.
The process was NOT as simple or straight forward as all the instructions I read on multiple sites made it out to be.
The instructions at http://twogirlsbeingcrafty.blogspot.com/2011/02/ramseys-finally-have-coasters.html say to do a "few" coats of mod podge on top of the paper. The result of this is what appears to be: too much glue on top of a peice of paper, because actually, that's exactly what it is.
The instructions also advise using a sanding block to smooth of paper hanging over the edge of the coaster. This is another FAIL. I sanded in vain for about 45 minutes, on the coasters that didn't look like a gluey mess, until I realized that this was a ridculous waste of time and dumped the offending coasters into a bowl of hot water, peeled of the paper, and started over.
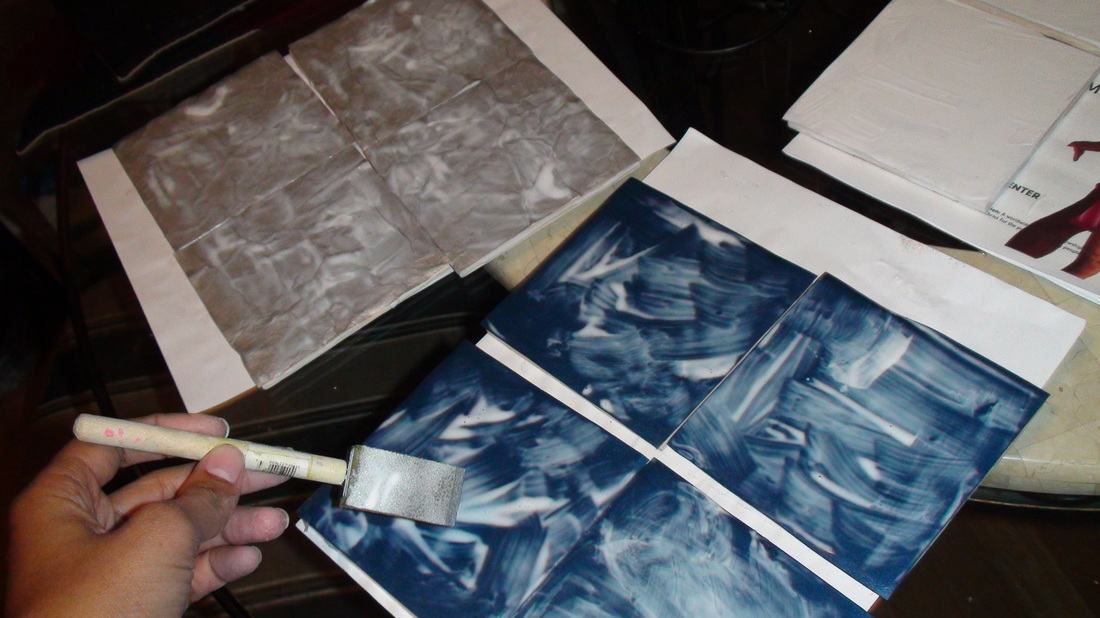
The second time, I measured the paper to be slightly smaller than the tile and used as little of mod podge as possible on the top of the paper. I used an upside-down tile and a weight (can of tomatoes) to make sure the paper was laid flat. I used the spray acrylic, and THEN a coat of varnish to water proof the tile.
The instructions at http://twogirlsbeingcrafty.blogspot.com/2011/02/ramseys-finally-have-coasters.html say to do a "few" coats of mod podge on top of the paper. The result of this is what appears to be: too much glue on top of a peice of paper, because actually, that's exactly what it is.
The instructions also advise using a sanding block to smooth of paper hanging over the edge of the coaster. This is another FAIL. I sanded in vain for about 45 minutes, on the coasters that didn't look like a gluey mess, until I realized that this was a ridculous waste of time and dumped the offending coasters into a bowl of hot water, peeled of the paper, and started over.
The second time, I measured the paper to be slightly smaller than the tile and used as little of mod podge as possible on the top of the paper. I used an upside-down tile and a weight (can of tomatoes) to make sure the paper was laid flat. I used the spray acrylic, and THEN a coat of varnish to water proof the tile.
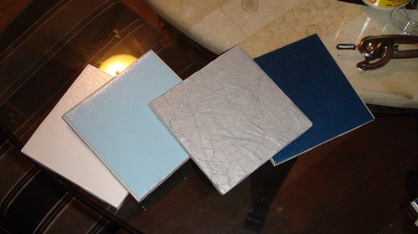
So in the end, what appeared to be a very easy project end up using up extra sheets of paper and many many coats of acrylic sealant. I am not sure if my fancy paper was the issue or if the previous coaster makers just like their crafts coated with a thick coat of glue.
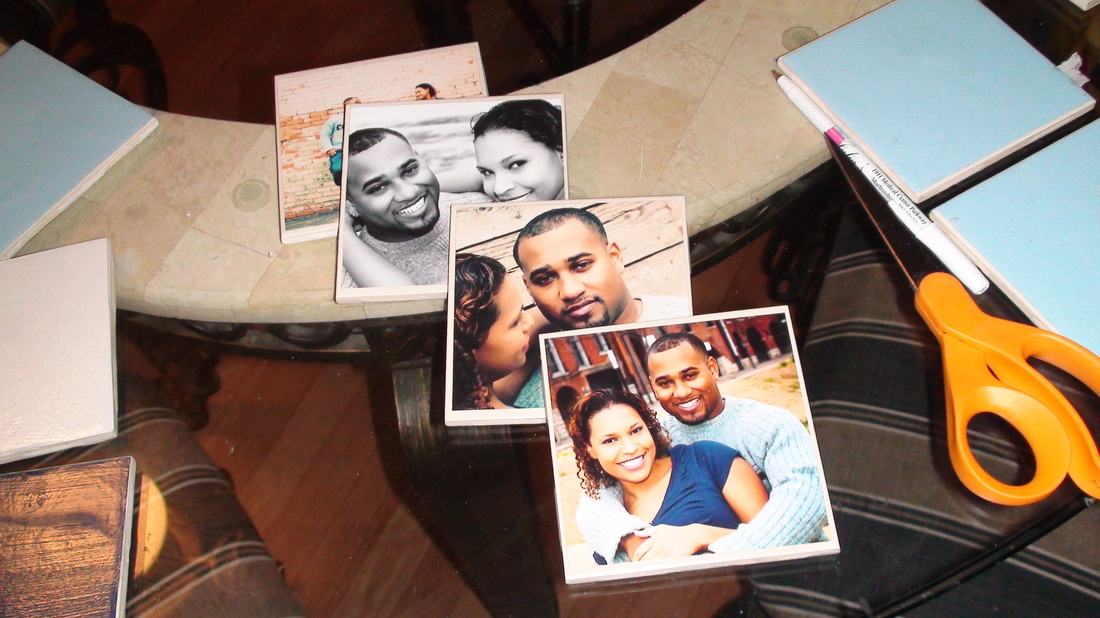
I finished out my coaster making by making some picture coasters for the parents of the bride and group. (Instructions Here)
I finished out my coaster making by making some picture coasters for the parents of the bride and group. (Instructions Here)