Reception Centerpieces
Welcome to my reception decor concepts. Let's get ready to (decorate the) party!
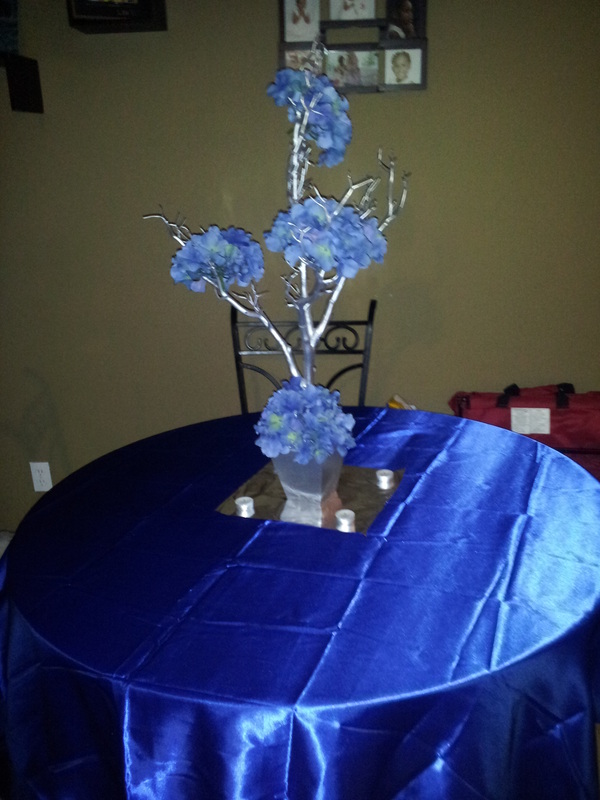
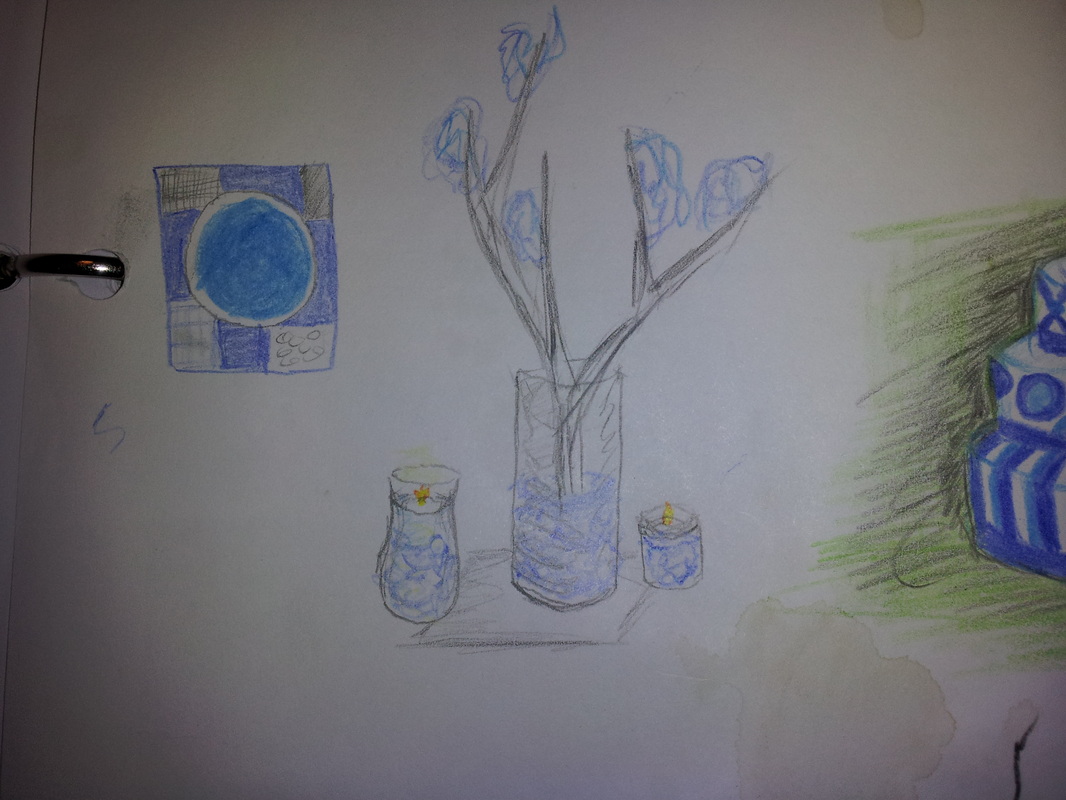
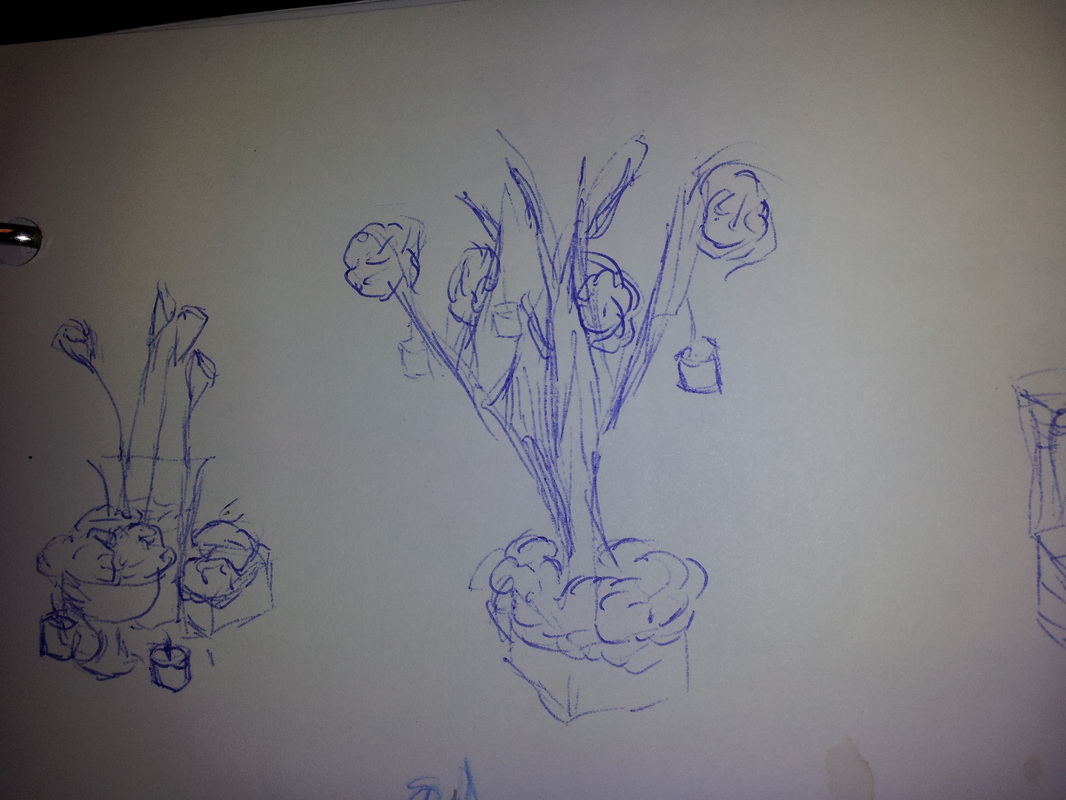
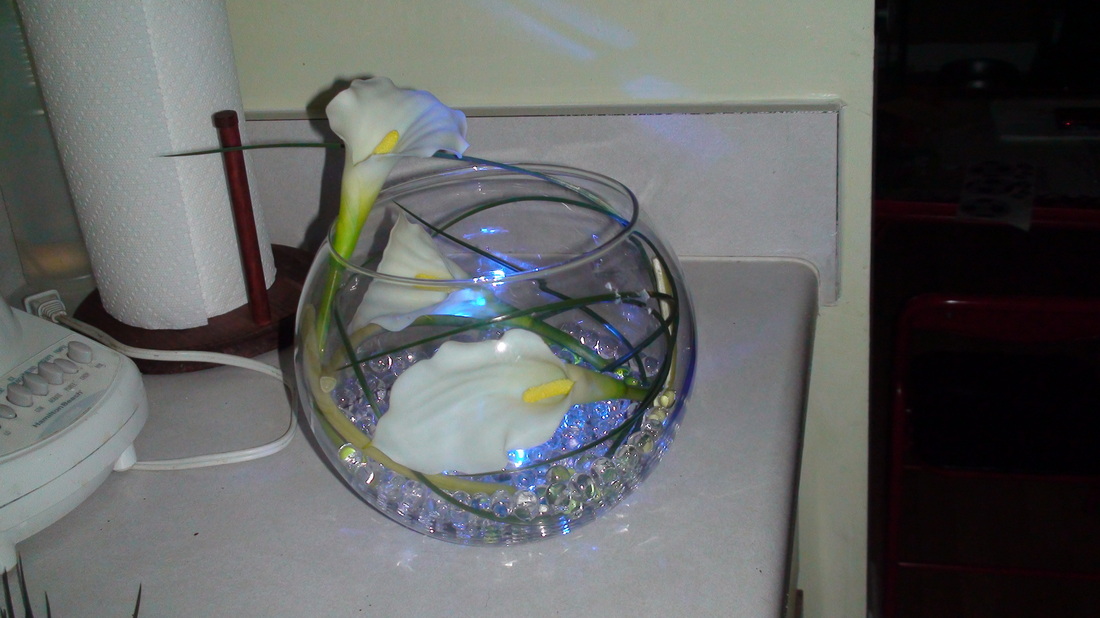
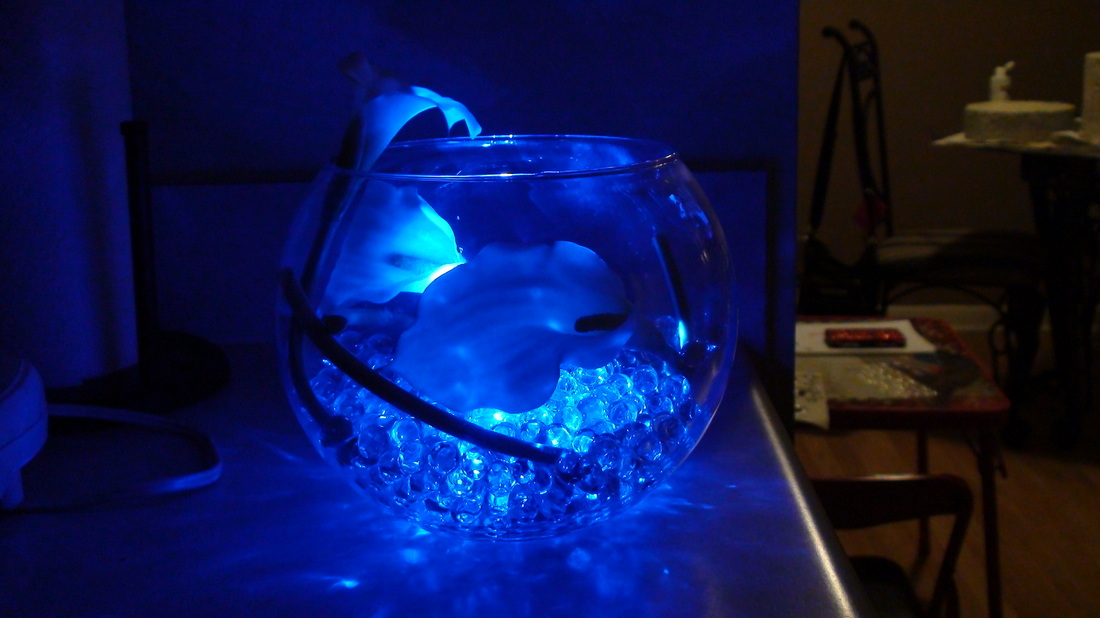
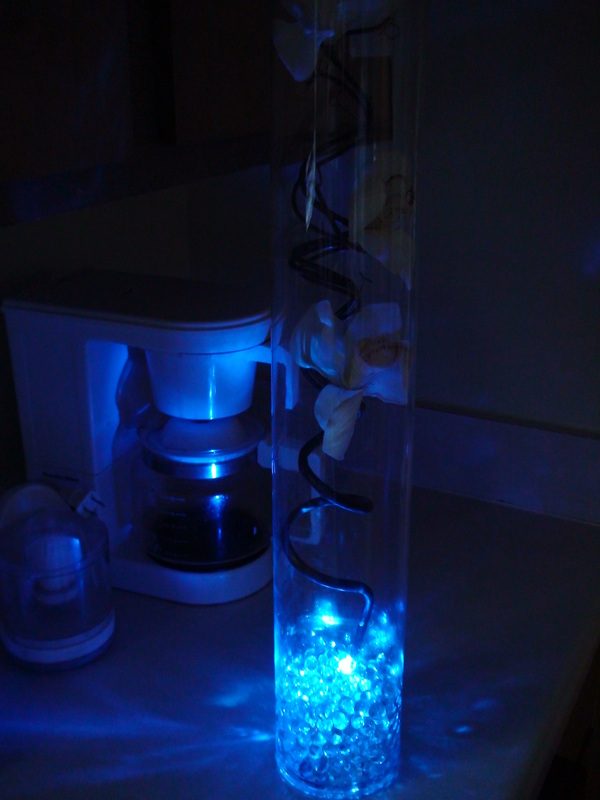
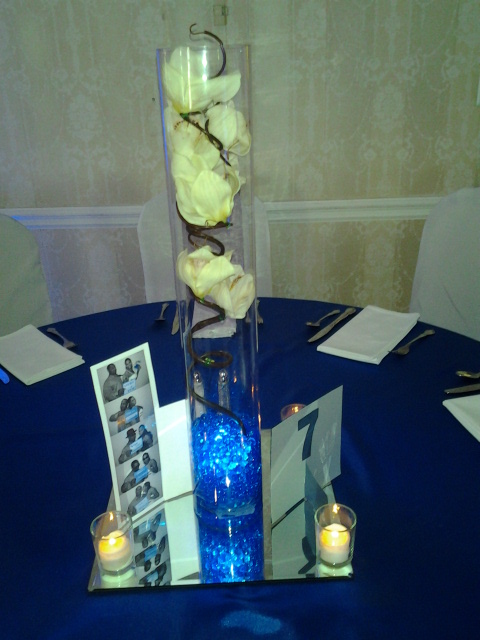
The concept for my centerpieces is centered around submersible LED lights. The moment I first saw a picture of a wedding centerpiece lit by a submersible LED light, I knew that I had to find out how to do it myself. I got submerisible LED lights from Michael's. At first, I was going to use stones in the centerpieces to cover the LED lights, but then I learned that covering the lights with Aquagems had a better effect.
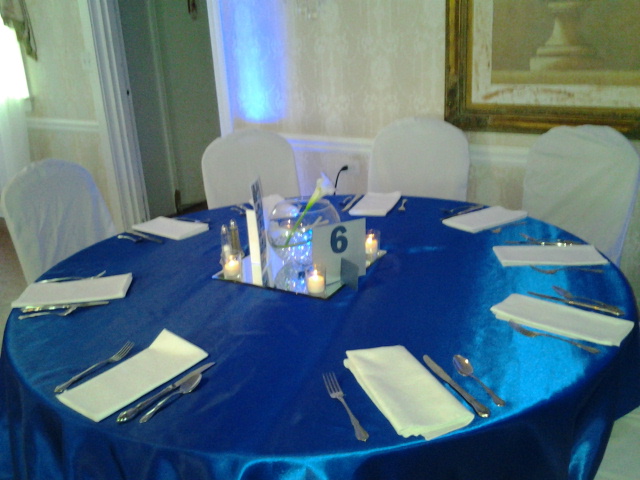
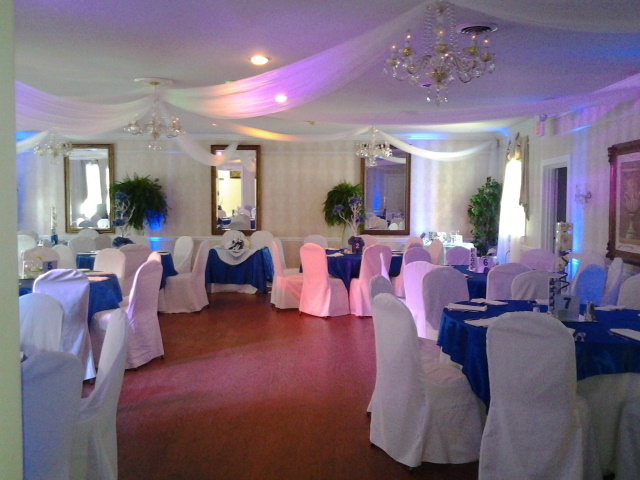
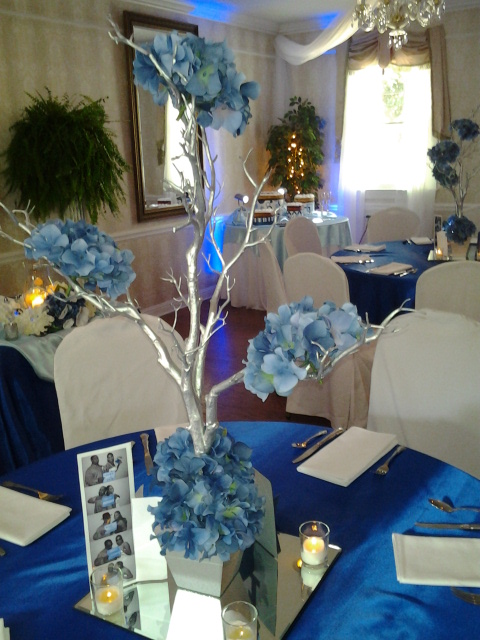
Our reception hall set up with the centerpieces and tablecloths
Cake Stand
I chose to have cheesecake as my wedding cake without covering it in fondant.
I was wondering how I was going to make the cakes look like they belong at the reception, when I got inspired from a picture of a cupcake stand which was decorated to look like a cake itself. I decided to make the stands for my cheesecakes out of hat boxes covered with paper to resemble a cake decorated with icing.
To the left is the design I came up with for my wedding cake before I decided to have cheesecake that was not covered with icing.
As with every DIY I attempt, I immediately ran into a roadblock: finding a 12 inch, 10 inch, 8 inch, and 6 inch hat box for a price that was not just as expensive as a real set of cake stands.
I found some sizes at some craft stores, but couldn't find all four sizes. So suddenly I had this idea that since hat boxes are often made out of paper mache, why not make them myself?
I know what you're thinking, you're going to try to make 4 cylinder shaped boxes out of newspaper, flour, and water??? Yep, yep, yep, I'm that crazy!
I formed the frames for the cylinders from posterboard bought for 50 cents a board. Now this sounds alot easier than it was. The truth is, I call myself figuring out how much posterboard I needed by calculating the circumferance of a circ 2(pi)r. But somehow I managed to calculate it using the DIAMETER of the circle...thus the reason I am NOT an architect. :-/ Anyway, I guess it's better to have too much posterboard than too little.
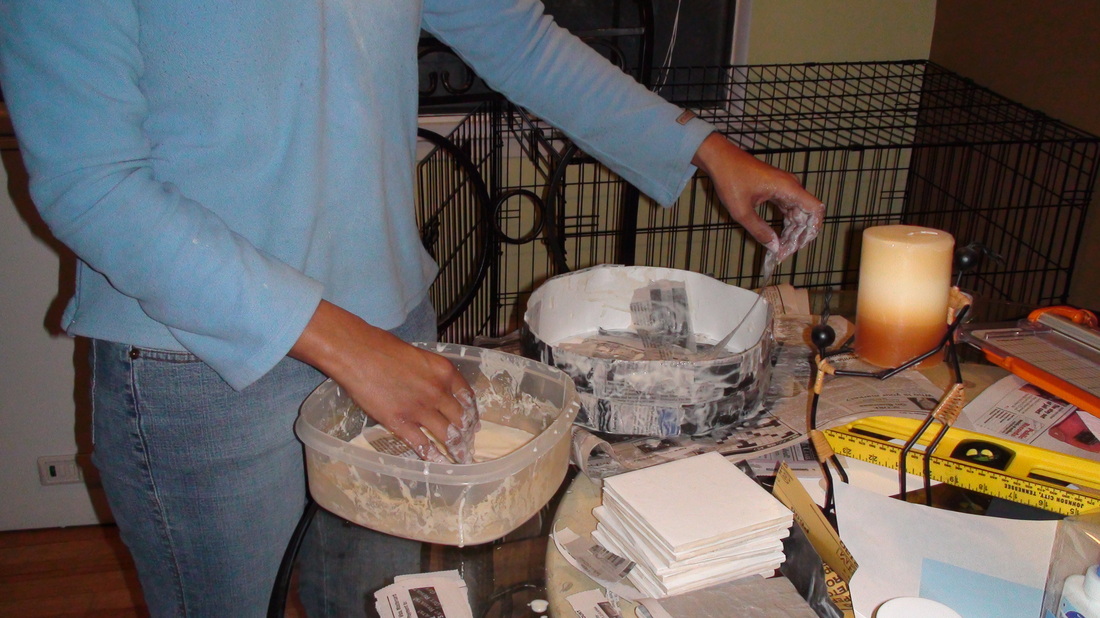
You're thinking, whoa, paper mache sucks! And you're right. It is a big, messy project! It took up a ton of space in the kitchen and pretty much took forever to cover the cylinders with strips of flour-y newspaper.
Perhaps you are wondering how I managed to get the cylinders to keep their shape as they dried?
Well, it was a very scientific method indead:
Perhaps you are wondering how I managed to get the cylinders to keep their shape as they dried?
Well, it was a very scientific method indead:
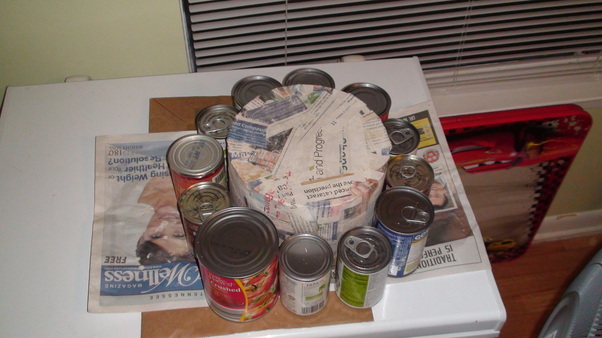
I did a few layers of newspaper on each cylinder. I did have quite a bit of trouble getting the cylinders to stay round as they dried. With each layer of newspaper I got the chance to try and shape the cylinder a little bit more.
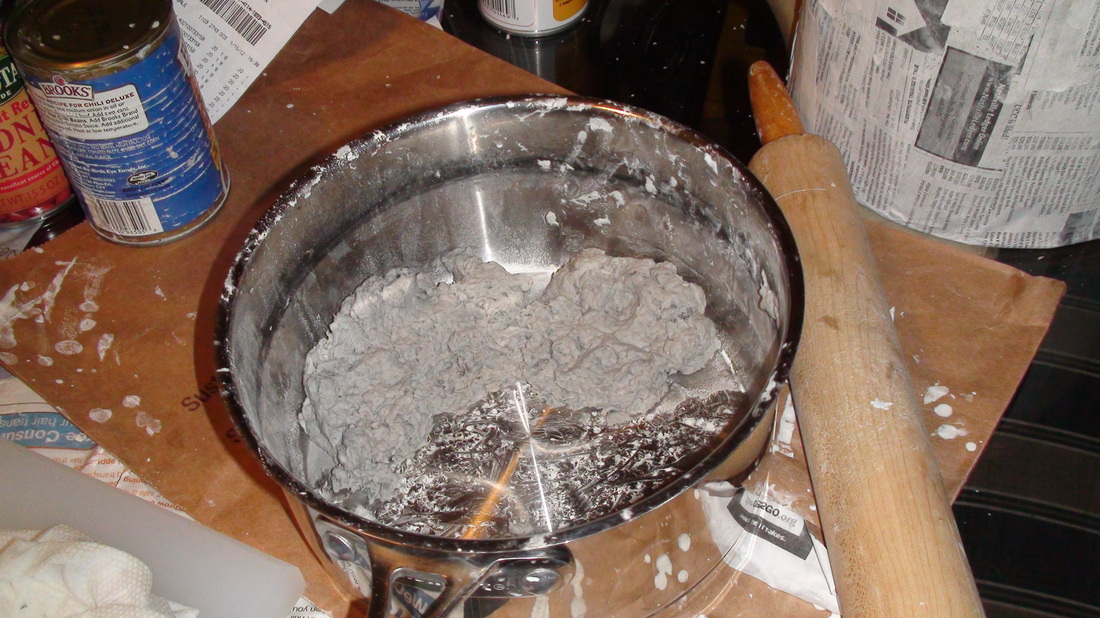
After I finished layering all the stands with strips of newspaper, I decided to add a layer of paper mache pulp to strengthen and smooth out the stands.
Paper mache pulp consists of water soaked newspaper chopped into pulp, and then mixed with flower and water. From what I understand, it's usually used for much smaller paper mache projects or is added to larger scuptures for strength.
It's not very good looking stuff, but it did help shape the cylinders pretty well. After being covered with pulp, all of them stayed (mostly) round.
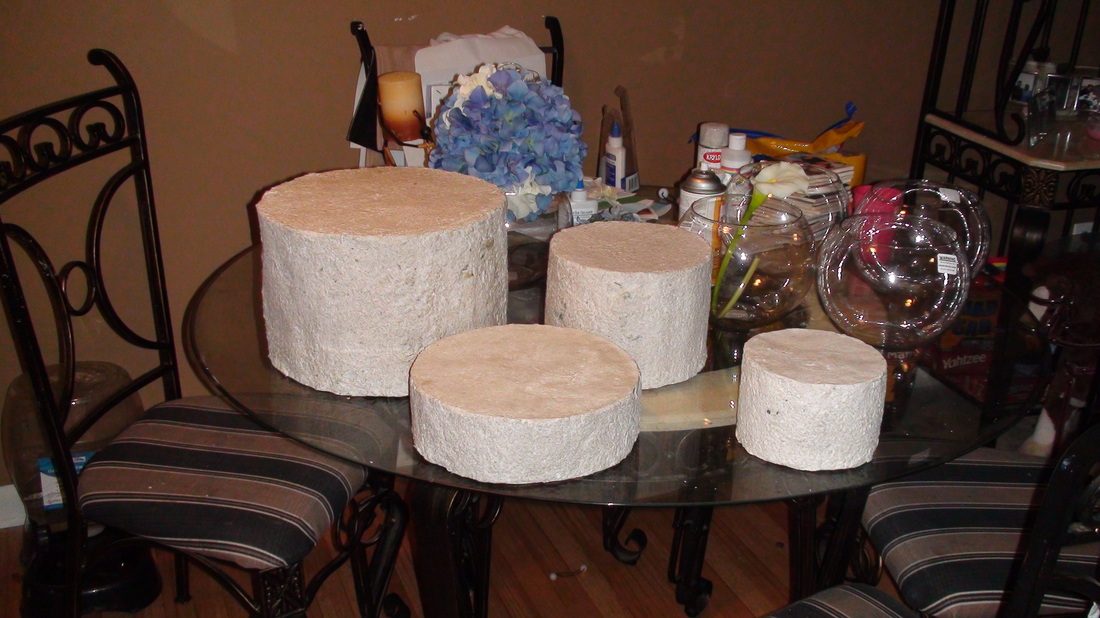
I was a little worried at the paper mache box could be damaged by moisture or mold between now and the wedding. I did a little research and found that artists have used outdoor varnish to preserve their paper mache scuptures, so the last step in creating the boxes was to cover them with varnish for preservation.
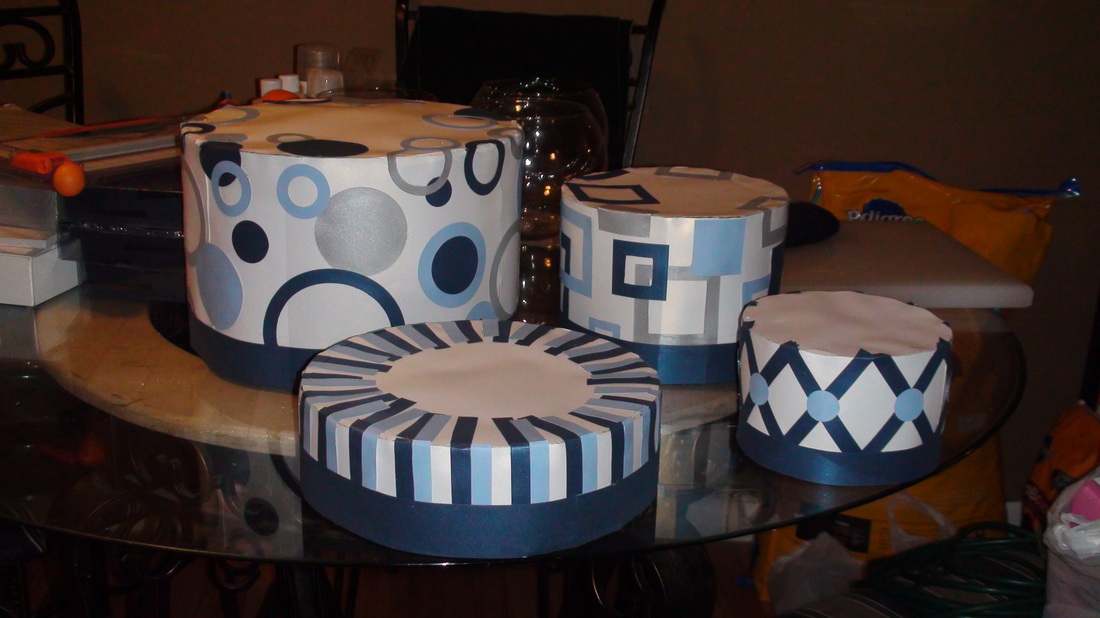
Once the paper mache cylinders were finished, I covered them with scrapbook paper. This involved cutting circles, squares, and strips of paper. The circles and strips were easy; I have cutters for those. The squares were a pain in the butt. I had to draw them out using a straight edge and then cut the inside of the square using a box cutter :-/
I tried to attatch the paper with elmers and rubber cement, but that was a no-go. The paper was too slick and wouldn't stay still. I finally had to go with the hot glue gun, which made the process LONGER, but in the end it seems to have worked out okay. I did burn myself a couple of times and I did redo the largest piece twice before the decorations looked good enough. Getting paper to wrap evenly around a cylinder with no gaps is alot harder than it looks on TV when The Cake Boss does it with icing...
Okay, but the project is officially DONE!!!! and I must say that it is mildly impressive. The truth is, I've always thought it'd be cool to design my own custom wedding cake. I guess this is as close as it gets. Watch out Buddy!!!! You got competition in the paper-imitating-cakes department!
Now can you imagine rich cheesecake sitting atop my beautiful cake stands?
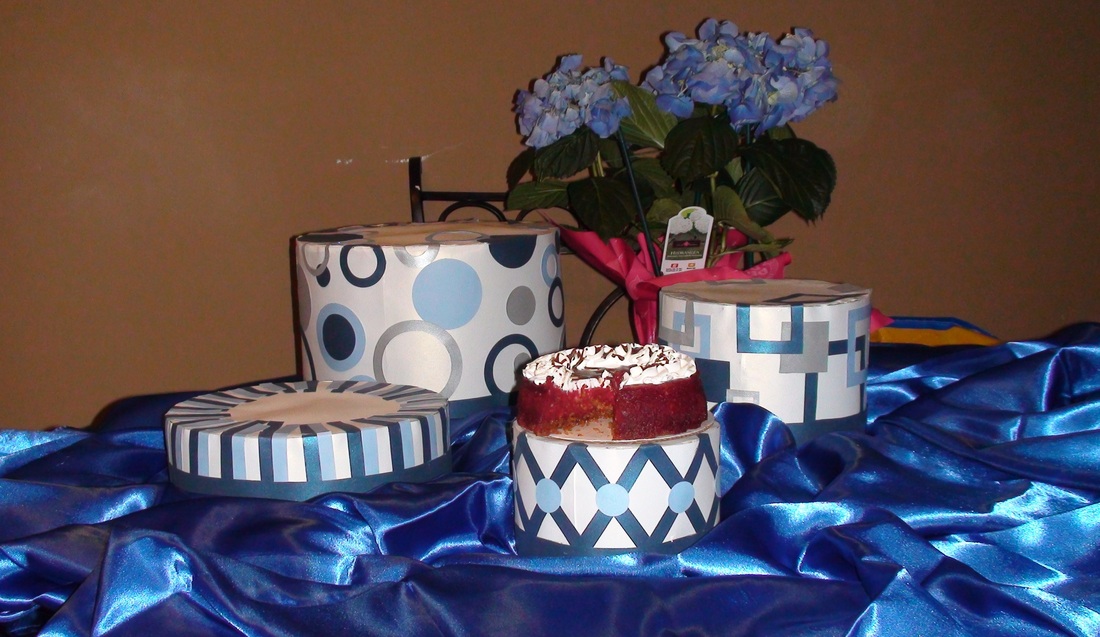
Cake stand with a 6 in red velvet cheesecake from The Cake Project
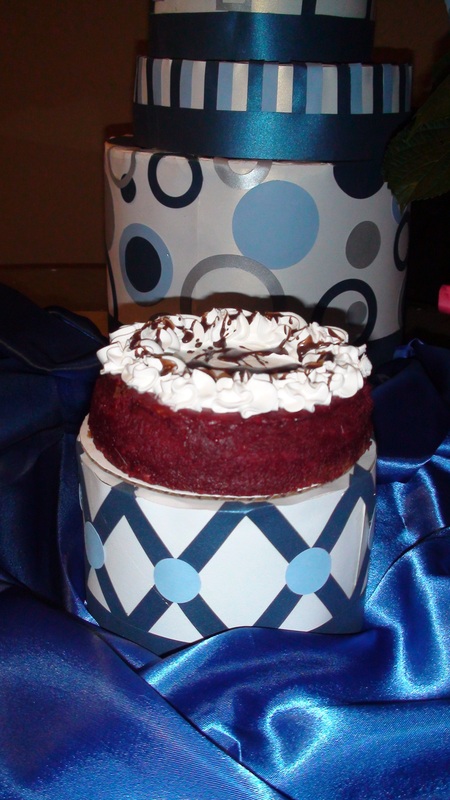
Cake stand with 6 in red velvet cheesecake
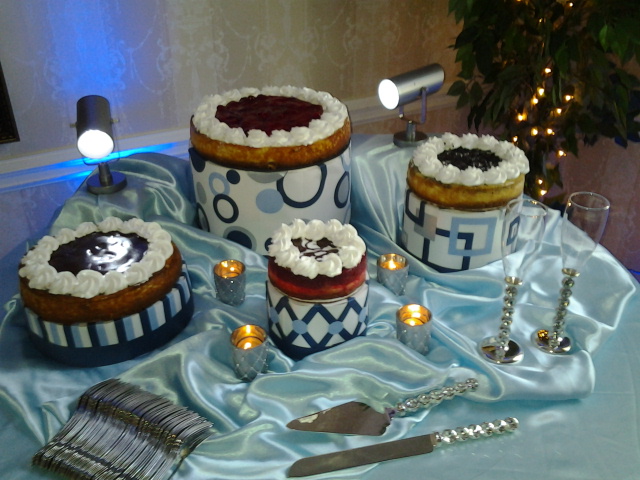
Cake Table: Stawberry, peanut butter fudge, cookies & creem, and red velvet cheesecake!
And underneath it all?
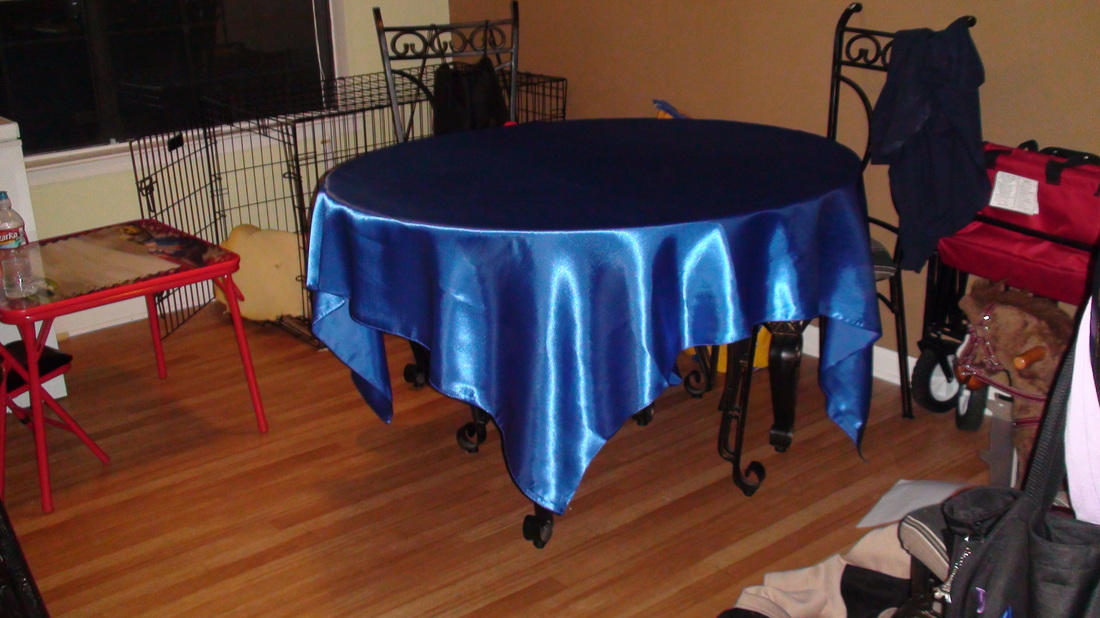
I ordered 72" Satin overlays from cvlinens.com. The venue already provides white tablecloths and chair covers, so these royal blue overlays will really make my tables look good :-) They came out to about $5.23 each.
The venue will provide square mirrors to go underneath my centerpeices.
My coordinator lent me light blue table cloths for the rest of the tables.
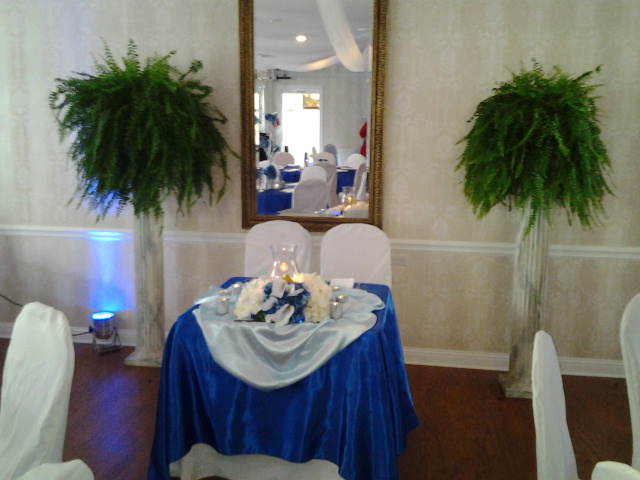
Sweetheart Table
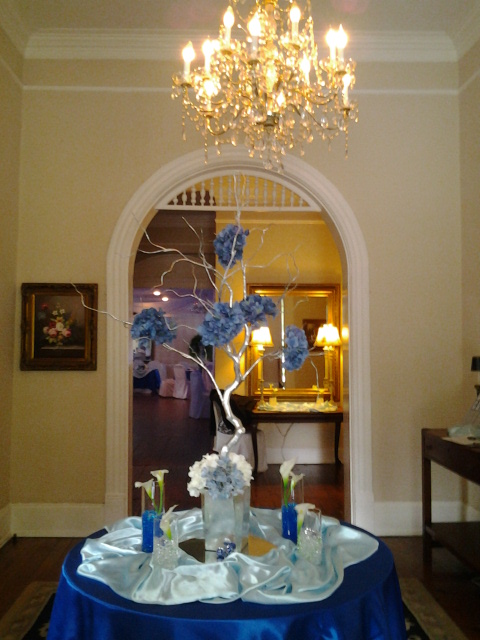
Entry way table
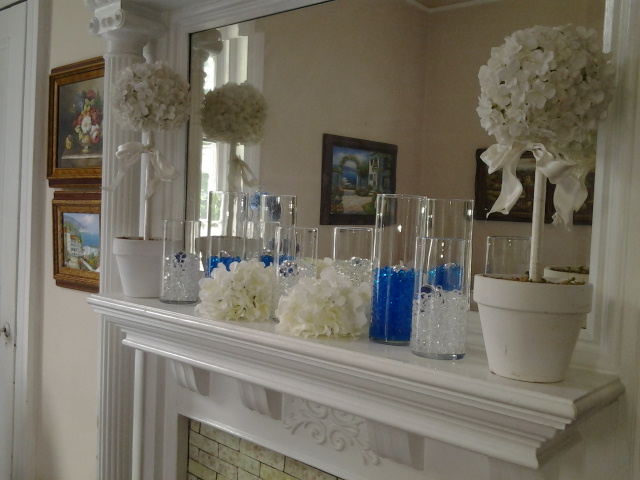
Mantle Decorations
